How To Undelete Files on Windows 10 and 11 with SecureRecovery® Undelete
SecureRecovery® Undelete detects file fragments in a device’s unallocated space and restores the deleted data to a new drive.
File recovery software works because most storage retains deleted data even after you erase it. Instead, the device typically removes the entry in the file system and marks the physical space it occupies as free. Once the drive needs room for new data, it will overwrite old files. However, they remain on the device until then.
This design means free software can often undelete data on your hard disk drive (HDD), flash drive, or SD card. Undelete scans the file system for metadata and uses pointers to find the physical location of deleted data. At that point, the tool reconstructs the data to a usable state.
It’s that simple. You can usually restore lost files just minutes after deleting them.
Be sure to save SecureRecovery® Undelete to a separate device than the one that contains deleted files. Installing new programs on the device could cause it to overwrite data. Run the software from another drive to best preserve the original data.
Note: It is difficult to restore deleted files on a solid-state drive (SSD) due to TRIM commands. While TRIM helps maintain the SSD’s performance, it also wipes data from blocks. As a result, deleted data is much harder to recover from SSDs unless you have already disabled TRIM in Windows. Likewise, modern smartphones vacuum deleted contacts, notes, photos, and videos from their databases more frequently. The practice complicates the process of retrieving erased files from a mobile device.
Here is our step-by-step guide explaining how to restore deleted files with SecureRecovery® Undelete:
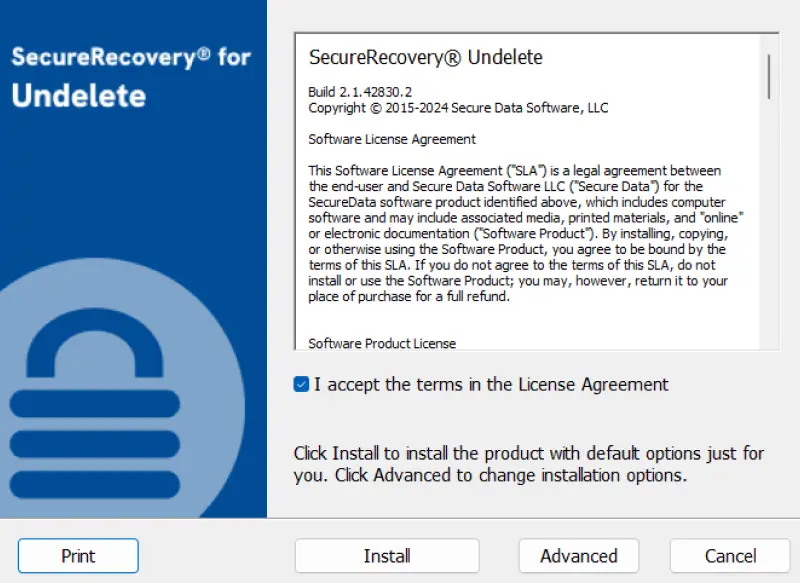
Step 1: Install SecureRecovery® Undelete
Check the box to acknowledge the terms and conditions of the license agreement. Click Install to continue.
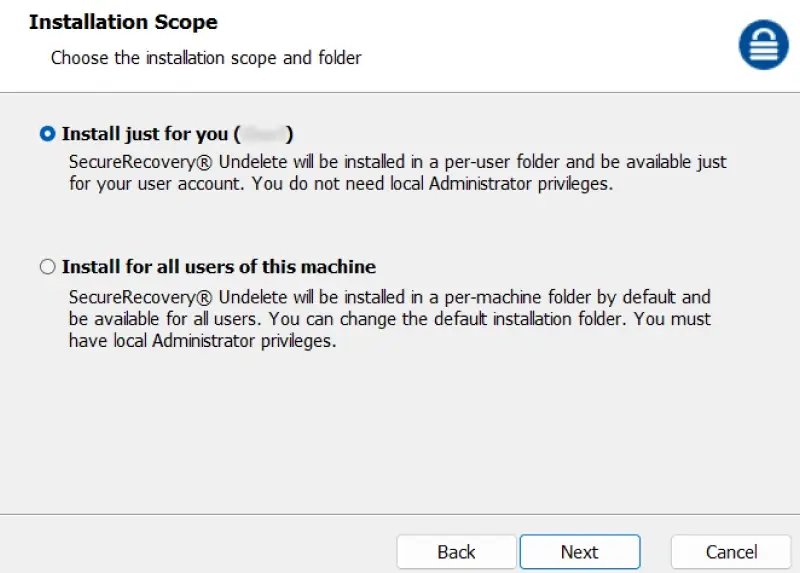
You can change the installation scope under Advanced settings.
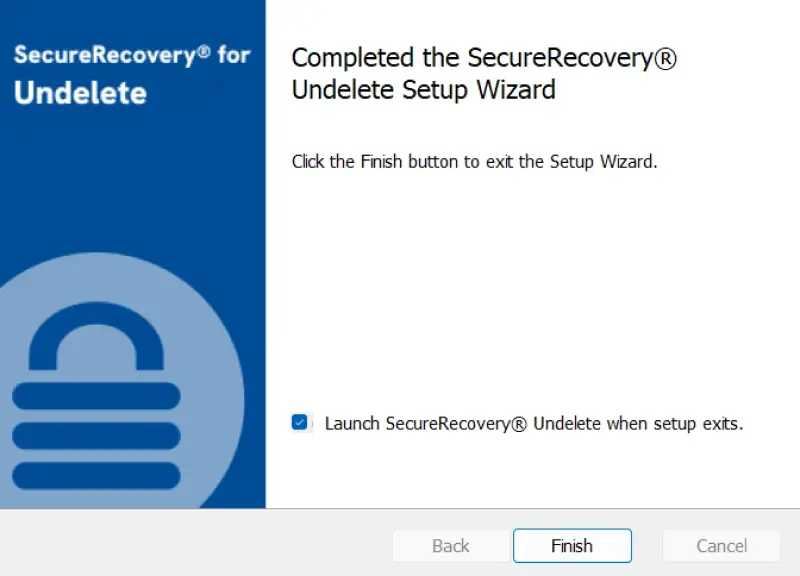
Click Finish to conclude the install process and launch the free tool.
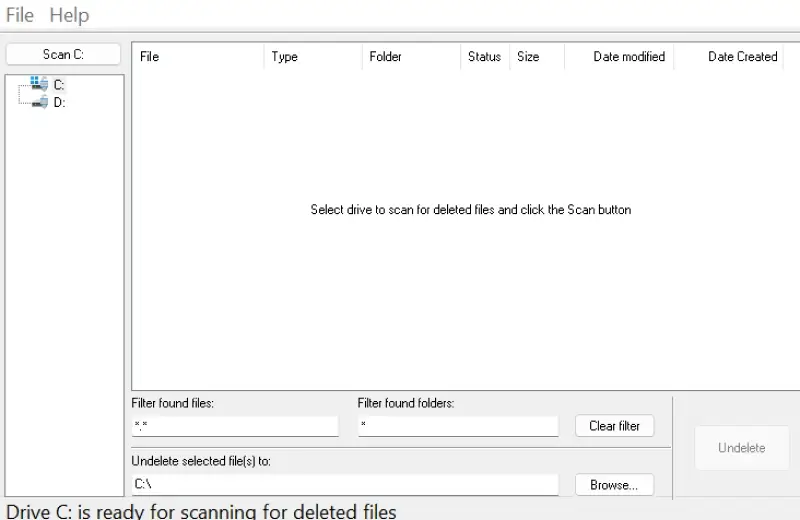
Step 2: Select Device and Output Folder
Choose the desired drive from the left sidebar.
Click Choose the desired drive from the left sidebar. -Browse at the bottom of the window to set an output folder. Make sure the destination drive differs from the source drive. For example, if you restore deleted data from the C: drive, you should save those files to the D: drive.
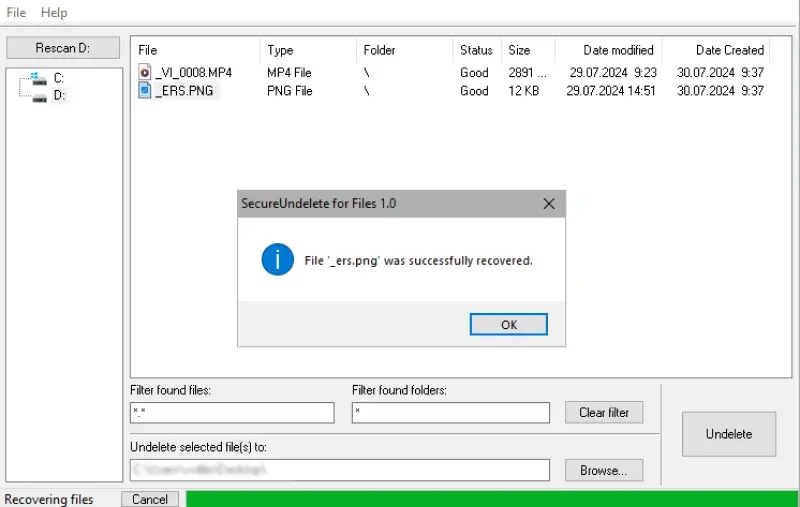
Step 3: Undelete Your Files
Click Scan in the top-left corner of the dashboard. Wait for the scanning process to complete.
The deleted files should appear once the scan finishes. Click Undelete to recover the files to the chosen folder.
Step 4: Confirm Recovery
Verify the software restored your deleted data by opening the output folder.