


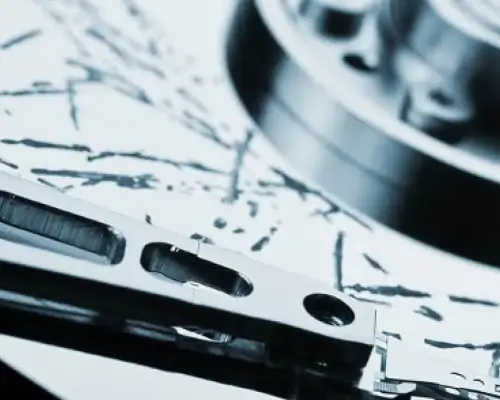
Prevent External Hard Drive Failure
The most difficult issue for a computer user to tackle is the failure of an external hard drive. In most cases an external drive is used to keep important files and system backups, so when the drive fails, it fails at the most inopportune time. From that point forward, recovery options are limited and will require days, if not weeks, before lost data from the external drive can be recovered.
The worst thing you can do when dealing with a damaged hard drive is panic.


