
Image files, including RAW, JPG, and PNG file types, can become corrupted or unexpectedly vanish due to malware, system crashes, human mistakes, and a multitude of other factors. However, if you experience unusual behavior from your photo and picture files, with the right software, recovery is possible.
The experts at SecureData explain how to handle common data loss scenarios for corrupted or deleted images and how to restore them.
Common Causes of Photo File Corruption and File Loss
To understand how to recover lost, corrupted, or deleted image files, we must first understand the most common data loss scenarios and the reasons they occur.
- Power Surge: Unanticipated changes in power, including electrical surges or a loss of power entirely, can cause hardware failures leading to system or file corruption. This is especially common if a system powers down during a file-saving process.
- Environmental Conditions: Extreme temperatures, overheating internal components, liquids, magnetic fields, and physical damage can all cause file system errors and corruption.
- Malware: Malware, including viruses, trojans, and ransomware can corrupt, delete, or otherwise modify files.
- Human Error: Human errors, including the accidental deletion or mishandling of files, can result in file corruption and erasure. This can include renaming a file and its format incorrectly or moving files to damaged disks.
- Software: Image file corruption may also occur due to incompatible software and plugins. Bugs and software inconsistencies may result in applications incorrectly processing data, which, in turn, can lead to information loss.
How to Recover Pictures and Image Files Manually
Step 1: Check Your PC’s Trash Bin
The first step is to check your PC’s bin, which will either be the Windows Recycle Bin or macOS’s Trash bin. You may be able to restore your file to its original location.
Step 2: Try to Restore From a Backup
If the file is corrupted and cannot be opened, restore the file from a backup – should one be available.
Step 3: Use File History to Restore a Previous Version
If you suspect that the error may have been caused by a saving or renaming problem, attempt to use your operating system’s file history feature to restore a previous version. Or, you can try your luck and rename the file back to its original name – although, in most cases, this will not fix file damage.
However, one of the most efficient and safe methods is to download and install SecureRecovery Picture Restore Software, a software solution that can repair your corrupted file in seconds.
How To Recover Files Using SecureRecovery Picture Restore Software
SecureRecovery Picture Restore Software is the most effective utility on the market to safely recover your pictures and image files.
The software can repair corrupted images in JPEG, GIF, TIFF, BMP, PNG, and RAW (.jpg, .jpeg, .gif, .tiff, .bmp, .png, .RAW) formats.
This software will preserve color depth and the original dimensions of your file. Files can be saved in their original formats, or users can select Bitmap (.bmp) during the recovery process. And, thanks to its simple and clean user interface, the image recovery process is quick and painless.
For RAW files, the utility works with files generated through photography equipment developed by major manufacturers including Sony, Panasonic, Nikon, Canon, Fuji, and many more.
Below, you will find a step-by-step guide for recovering your corrupted picture and image files with SecureRecovery Picture Restore Software.
Step 1: Download and Install the Software
- Download SecureRecovery Picture Restore Software (Pix) and launch the utility on your Microsoft Windows PC. The software is compatible with Windows 2000 and above and will require less than 10MB of available space.
- If required, give permission to the launcher to make changes to your computer.
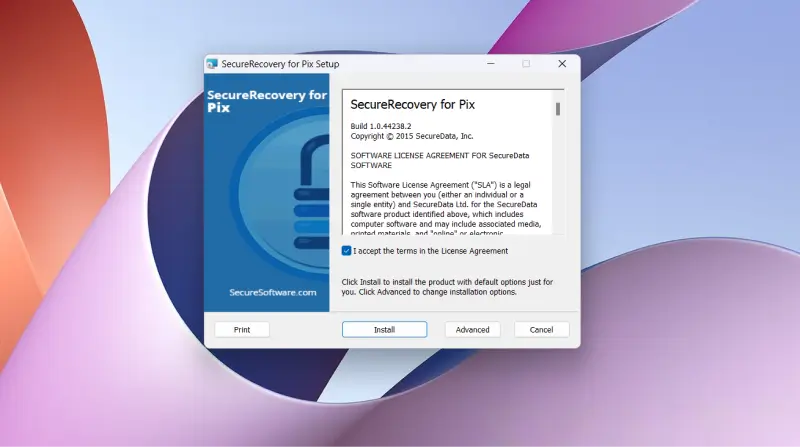
- Read and accept the Software License Agreement
- Click > Install
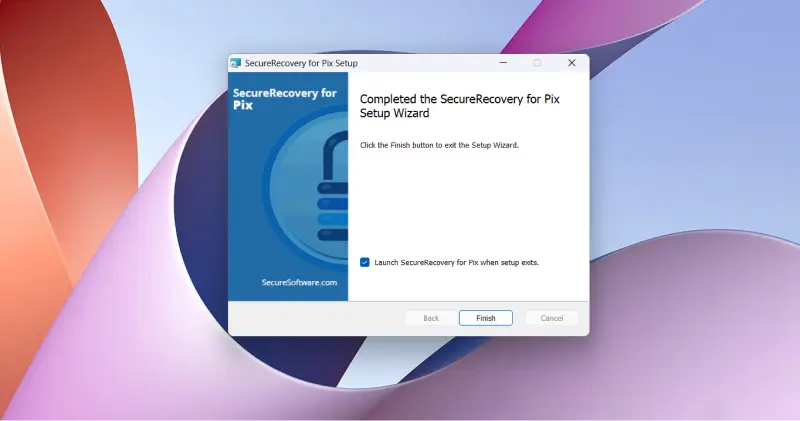
- Once the software’s Installation Wizard has finished, Select > Launch SecureRecovery for Pix when Setup Exits
- Click > Finish
The demo version will recover your pictures for you, but results may be limited. You can switch over to the full product once you have purchased a license key.
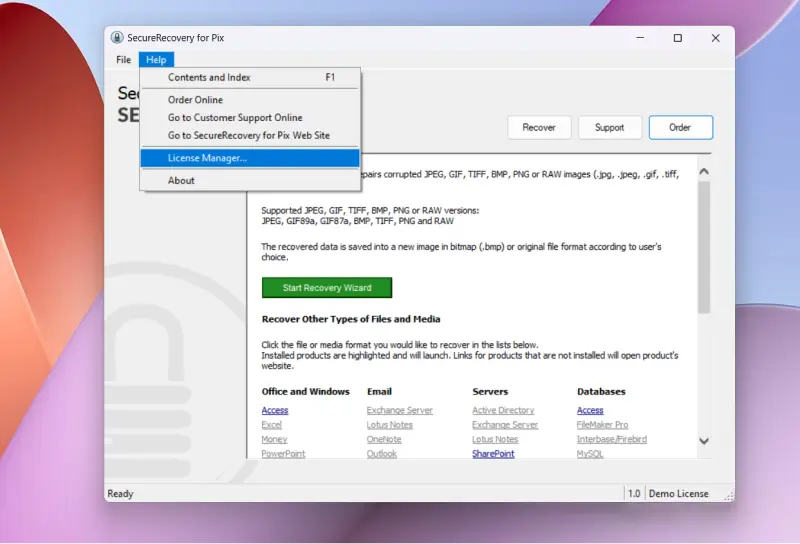
In order to register your license:
- Navigate to the “Help” tab and select “License Manager.”
- Type in your license key
Once the license is accepted, the full SecureRecovery for Pix suite will become available.
We are now ready to begin the picture and image file recovery process.
Step 2: Choose an Image File to Recover

- At the software’s landing screen, click the green “Start Recovery Wizard” button.
Alternatively, if you want to recover another type of file, the landing page includes a list of file types available for recovery.
You can click on a file type to automatically open the relevant software, including utilities to recover Photoshop files, flash drive content, Microsoft Office data, and more.
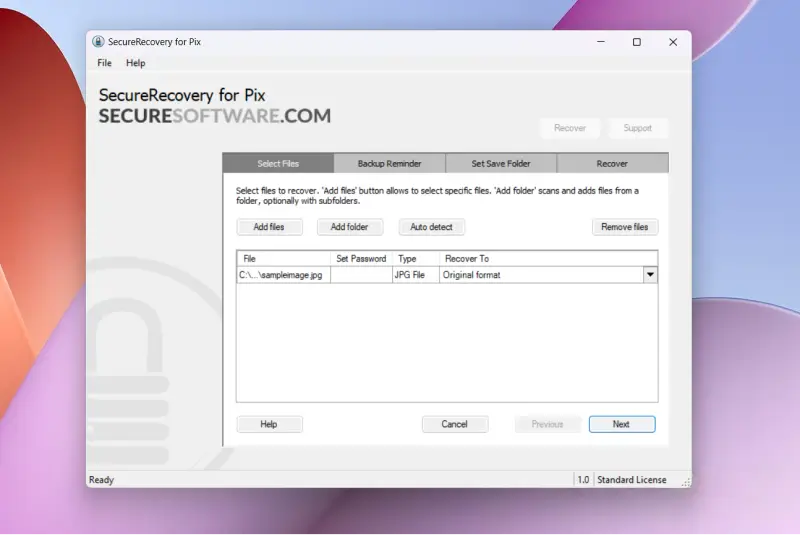
- Locate the file you wish to recover. Files set for recovery must be in the JPEG, GIF, TIFF, BMP, PNG, and RAW (.jpg, .jpeg, .gif, .tiff, .bmp, .png, or .RAW) formats. Navigate to your file, click it, and choose “Open.”
You also have the option to choose multiple files to recover.
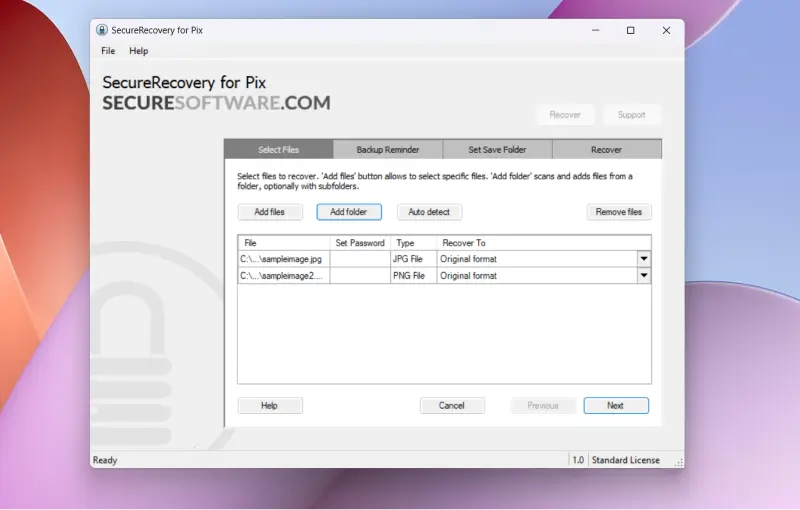
- If you wish to, you can select more than one file for restoration. You can choose to add individual files or even entire folders.
Step 3: Choose a File Format for Your Newly Recovered File
- You can decide between a number of recovered file outputs. If you choose “Original format,” the new file will be the same type as the target corrupted file. Alternatively, you can use the drop-down menu to select a new file type for the image file set to be restored: JPEG, GIF, TIFF, BMP, or PNG.
Here you can set a password to restrict access to the new file if needed:
- Click > “Select Password” and type in your desired password.
A Note on this Step: There is an option at this stage for “Auto Detect”. This option will automatically detect files you may want to include in the image recovery process – a useful addition if corruption has occurred disk-wide.
- If you select a file by accident, select the file and click “Remove files.”
- When you are ready, click > Next
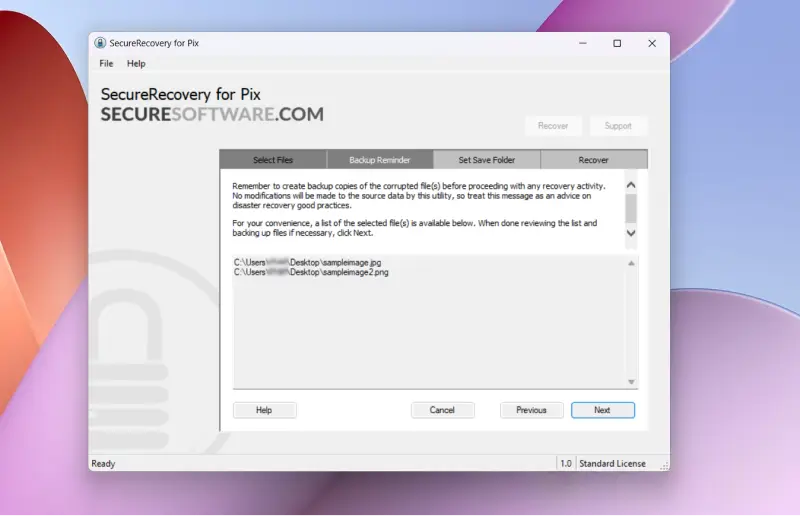
- You will now be reminded to create a backup of the files you selected.
It is strongly recommended that you back up any file before undergoing a recovery process in case you are not satisfied with the result, or in case the file is not a good candidate for recovery and you, therefore, need expert assistance.
- Once you are ready click > Next
Step 4: Choose a Save Destination & Begin Recovery
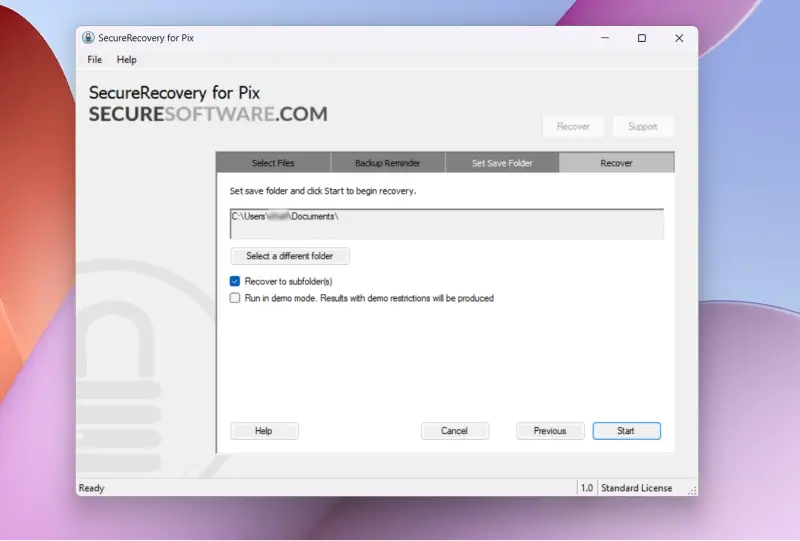
You will now be shown the “Set Save Folder” tab, where you will need to choose a location for your new file to be saved.
By default, you will be offered a destination such as C:\Users\[Name]\Documents, but you can choose any location you wish, including a different drive or removable media.
- Click > Start to begin the recovery attempt.
(You also have the option to run the software in demo mode, but this comes with restrictions on the final result.)
Within a few seconds, the picture file repair will be complete.
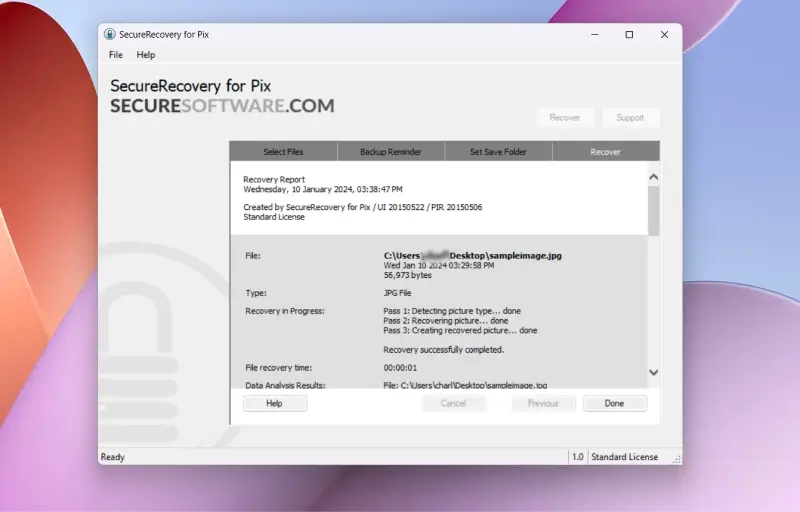
Once the data recovery task has finished, you will be shown a recovery report and an activity log link will be generated. An example report is below:
Congratulations, you have now repaired and recovered your picture file. Please note the “Recoverability Assessment” in the report, which will show a score out of three. The higher the score, the more suitable the file is as a candidate for recovery.
You may find that the recovered file is smaller than its original file size. When the utility comes across damaged or unreadable data, to preserve as much of the image file’s integrity as possible, the recovery software will replace this information with blank space.
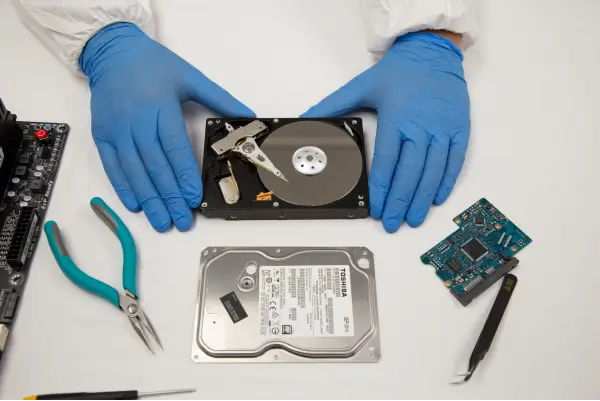
If you need further assistance with image file recovery, contact an expert from Secure Data Recovery Services.
Frequently Asked Questions
What is a corrupted image file?
A corrupted file is damaged and rendered inoperable due to factors including power surges, system crashes and errors, human mistakes, file integrity problems, malware, and more. Corruption can impact a range of image files including RAW, JPEG, GIF, TIFF, BMP, and PNG formats.
What does a corrupted image file look like?
You will often see system and file errors if you attempt to open a corrupted image file, For example, this may include “the document/file could not be opened.” You may also find that there is no response to requests to open corrupted files.
Is backing up my image and photo files important?
It is crucial that you maintain a frequent backup cycle for your valuable data. Many of us now store otherwise irreplaceable image and photo files in digital formats, and while they are more convenient than physical copies, it is important that backups are available.
If image and photo files become corrupted or are accidentally deleted, you can use backups to restore them quickly and without fuss. However, to avoid file corruption caused by power or system crashes, you should consider storing your backups away from your primary system, such as in the cloud or through removable flash drives.
In cases where no backups are available, a third-party dedicated data recovery solution such as SecureRecovery for Corrupted Pictures is a secure and efficient way to repair your files.


")


